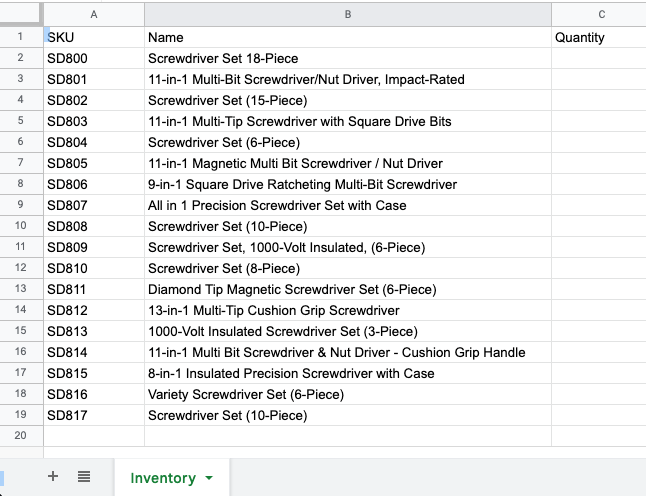
Let's pretend that you run a home-improvement store, with lots of products on the shelves. Every day or so, you pick a bunch of products and note them in a Google Sheet, which looks something like this:
You'd like to have your loyal employee run an inventory check and note the quantity of each product. There's only one wrinkle: as loyal as the employee is, you don't want to give them access to the Google Sheet itself; who knows what they'd do with it?
How can we automate our way around this pickle? Well, one way is to use Apps Script to create an HTML form with product information that it will take directly from the sheet. It will then insert the form into an email message that will be sent to the employee. The message would look something like this:
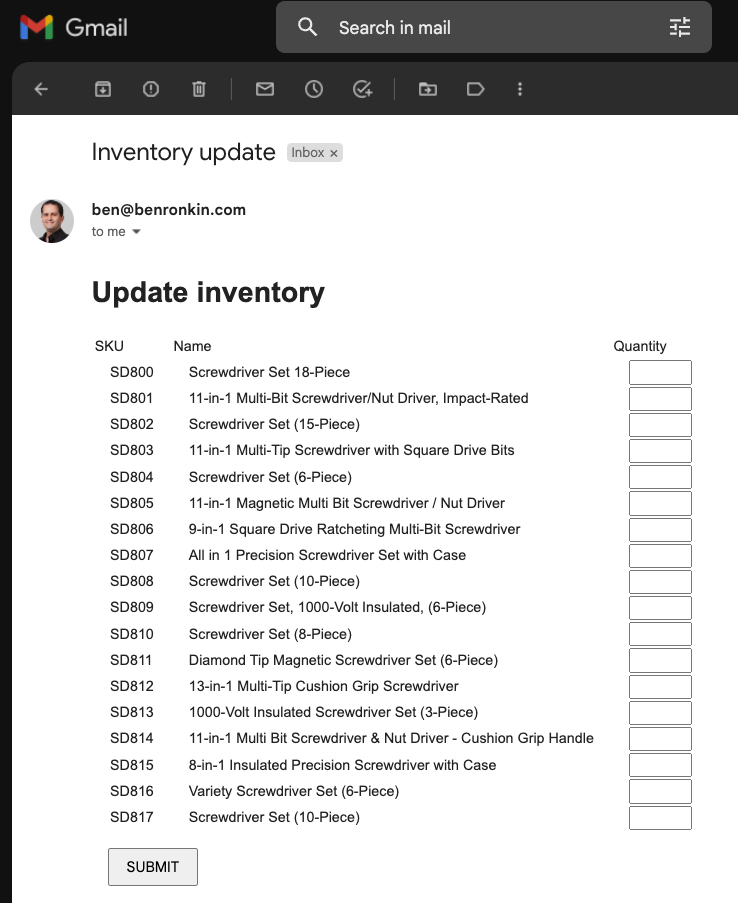
Apps Script will have a web app deployed that will await the form submissions. Once the employee fills out the quantity numbers directly into the form inside the email message and clicks submit, Apps Script will receive the information and update the quantity for each product in the Google Sheet automatically.
Sounds too good to be true? Nah, we can get it done.
Let's note the steps we need to take with this script:
- Create a custom menu option to email out a form
- Read rows from the sheet
- Create an HTML page with a form using rows
- Email out the form
- Capture form submissions
- Update spreadsheet quantities
- Update deployment URL and republish
To get started, create a Google Sheet with three columns that looks like the one above. Open Apps Script from the Extensions menu. Inside Code.gs, let's add the code for our custom menu:
function onOpen(e) {
  const ui = SpreadsheetApp.getUi();
  ui.createMenu('🟢 Automation').addItem('Email form', 'emailForm').addToUi();
}
We define the onOpen function that Apps Script automatically runs whenever the spreadsheet is opened. Inside of it, we get the UI object, create a top menu, one menu item, and add it to the UI. The menu references the emailForm function that we want to run when we select the custom menu. So let's work on that next.
function emailForm() {
  const ss = SpreadsheetApp.getActive();
  const sh = ss.getSheetByName('Inventory');
  const items = sh.getDataRange().getValues();
  items.splice(0, 1);
  const template = HtmlService.createTemplateFromFile('EmailTemplate');
  template.data = {
    items,
  };
  const htmlBody = template.evaluate().getContent();
  GmailApp.sendEmail('employee@mycompany.com', 'Inventory update', '', { htmlBody });
}
Above, we get the current spreadsheet, followed by its Inventory sheet. We extract all the cells from the sheet. We then splice away the header row, since we don't need it for our form. We'll create the header manually.
Next, we create an HTML template using a template file that we will develop next. We attach a "data" object to the template that includes our product information. We then evaluate the template and get its HTML content. "htmlBody" contains the actual HTML of the email message. In the last line we use GmailApp to send out the email to the employee, passing the htmlBody inside an options object.
Don't run this function yet, since we don't have the HTML template. Create a new HTML file in the Apps Script IDE and name it "EmailTemplate.html." Here's the code for it:
<!DOCTYPE html>
<html lang="en">
  <head>
    <meta charset="UTF-8" />
    <meta http-equiv="X-UA-Compatible" content="IE=edge" />
    <meta name="viewport" content="width=device-width, initial-scale=1.0" />
    <title>Update inventory</title>
  </head>
  <body>
    <h1>Update inventory</h1>
    <form
      action=""
      method="post"
    >
      <table>
        <tr>
          <td>SKU</td>
          <td>Name</td>
          <td>Quantity</td>
        </tr>
        <? data.items.forEach(item=>
        { ?>
        <tr>
          <td style="padding: 0 15px">
            <?= item[0] ?>
          </td>
          <td style="padding: 0 15px">
            <?= item[1] ?>
          </td>
          <td style="padding: 0 15px">
            <input type="text" name="<?= item[0] ?>" style="width: 50px" />
          </td>
        </tr>
        <? }) ?>
      </table>
      <button type="submit" style="margin: 15px; padding: 7px 15px">
        SUBMIT
      </button>
    </form>
  </body>
</html>
The above markup contains a basic HTML head section. The body section includes a header and a form. Inside the form we have a table with a header row.
We use scriptlets to embed code inside the HTML. When Apps Script processes the template, it takes the data that we pass into the template and uses it to create table rows. Our "forEach" loop iterates over the nested array of SKUs and product names, writing the data directly into the page as if we enter it manually. Be careful how you implement these pesky scriptlets; they can easily break the markup. Anyway, we close things out with a simple submit button.
If you run emailForm now, using your own email address as the recipient, then you should see the email message with the form, just like above. But clicking the submit button will not post the data, since the form currently does not have an action attribute that it can use to post the data.
Before we generate the "action" URL, let's create the function that Apps Script will run automatically whenever a form is submitted:
function doPost(e) {
              const items = Object.entries(e.parameters)
                .map(([k, v]) => [k, v[0]])
                .sort();
              const quantities = items.map((row) => [row[1]]);
              const ss = SpreadsheetApp.getActive();
              const sh = ss.getSheetByName('Inventory');
              sh.getRange(2, 3, quantities.length, 1).setValues(quantities);
              SpreadsheetApp.flush();
              return ContentService.createTextOutput(
                'Submission recorded. You can close this tab.'
              ).setMimeType(ContentService.MimeType.TEXT);
            }
doPost will run automatically, and Apps Script will pass the form payload into the "e" parameter. We can access the data via "e.parameters", which is an object where the SKUs are the keys, and the values are the quantities. We use "Object.entries()" to convert the object to a nested array. We sort the array by the SKUs so that we can easily paste the data into the sheet, since it's also sorted by SKU. We use "map" to extract the quantities and write them into their column in the sheet. We then return a text response informing the user that they can close the new tab that the submission opened.
Ok, now we can generate the "action" URL, by converting our Apps Script to a web app. Click on the blue "Deploy" button, select "New deployment," click on the gear icon on the left side, select "Web app", select execute as: me, and Who has access: Anyone within your org. Copy the resulting web app URL. and paste it into the action string.
Lastly, you need to update the webapp deployment given that by inserting the action URL we changed the code. So click Deploy again, but this time click "Manage deployments." Click the pencil button, and under "Version," select "New Version." Click deploy and you should be good to go.