In my previous post we saw how to use the OpenAI Dall-E API to convert text prompts to images programmatically, using Google Apps Script. In this post we will see how to use the API to manipulate existing images. We will edit areas of an image, as well as create whole variations of an image. Let's get going with Apps Script.
Setup
To get going with this project, create a standalone Google Apps Script file, as well as a Google Drive folder where the script is to store the updated images. You'll also need to obtain an OpenAI API key and store it in Script Properties. If you don't know how to do that then please read this post.
Finally, you will need at least one existing image to work on. Make sure it's a perfect square. I'll use PNG images here. In order to edit the image it needs to have one or more transparent areas where Dall-E will insert its content. Alternatively, you can use a mask image. The mask needs to be the same size as the original image and needs to include a transparent section. Here are my base image and mask:
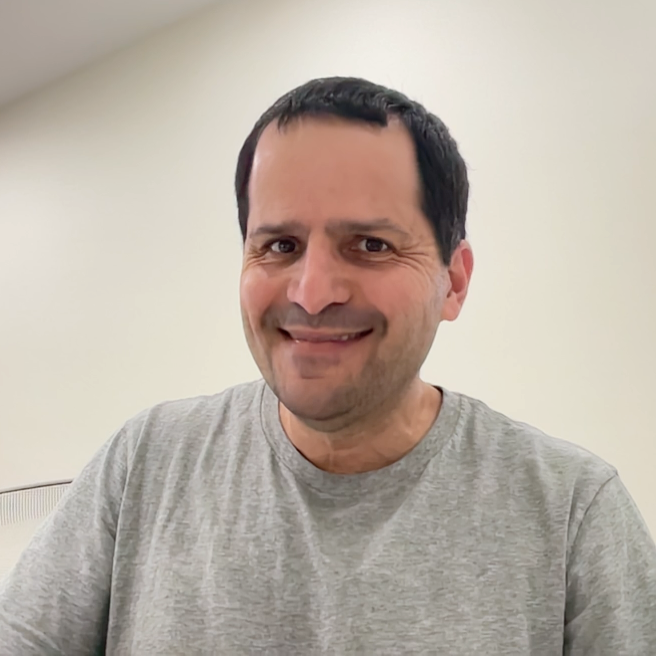
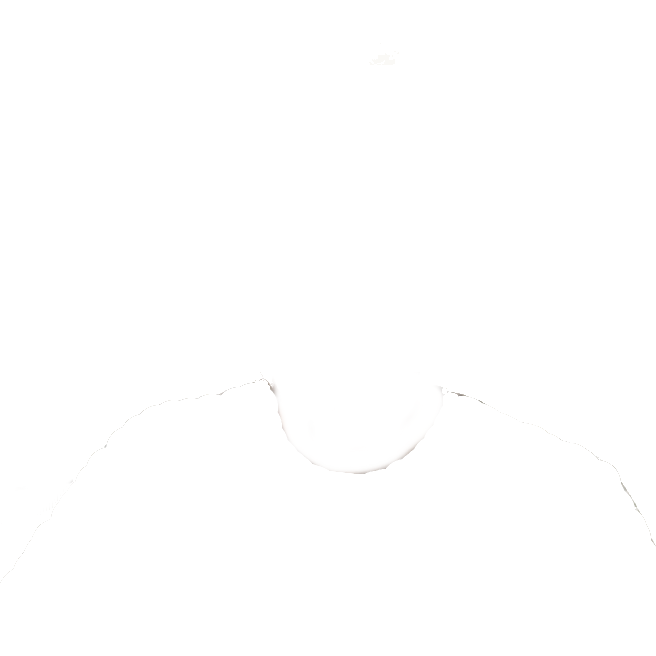
It's hard to see, but the mask is a white square with a transparent area for my shirt. I want the automation to change my shirt.
Common code
We're going to create two separate functions to edit images and to create variations. Since these functions have some common elements, we can centralize the common code into a global object and an initializing function to reduce the amount of code:
const g = {
  outputFolderId: 'id_of_your_Google_Drive_output_folder',
  payload: {
    size: '512x512',
    n: '4',
  },
};

function init_() {
  const scriptProps = PropertiesService.getScriptProperties();
  g.apiKey = scriptProps.getProperty('openAIKey');
  if (!g.apiKey) {
    throw new Error('OpenAI API key script property missing');
  }
  g.outputFolder = DriveApp.getFolderById(g.outputFolderId);
}
Above, we define a global object to hold the id of the folder where our automation will save the Dall-E images. We also have the beginning of the payload object that we will send to the API. size is the desired size of the output image, and n is the number of images we want back. Note that though n is an integer, you should surround it in quotes so that Apps Script doesn't convert it to a float (4.0), which OpenAI doesn't like.
Our init_ function gets the OpenAI API key that we stored in script properties (again, if you don't know what this is about then read this post.). The function also stores a reference to the actual folder in the global object.
Generic OpenAI caller
We can create a single function that will call the OpenAI API and return the response. This will be used by our two functions to edit the image and create variations:
function callOpenAI_(endpoint) {
  const apiUrl = `https://api.openai.com/v1/images/${endpiont}`;
  const options = {
    method: 'post',
    headers: {
      Authorization: `Bearer ${g.apiKey}`,
    },
    muteHttpExceptions: true,
    payload: g.payload,
  };
  const response = UrlFetchApp.fetch(apiUrl, options);
  const content = response.getContentText();
  const jsn = JSON.parse(content);
  if (jsn.error) {
    return jsn;
  }
  return { urls: jsn.data.map(({ url }) => url) };
}
Above, we create the API URL string by appending the endpoint we want to access ('edits' or 'variations'). We create the request object that includes our Authorization header with the OpenAI API key. We make the call and parse out the response. Finally, we convert the payload we receive: pulling out the list of URLs into a simple array – each URL belongs to the new image that Dall-E created for us.
Saving the files
We also need a utility to download the Dall-E images to our Google Drive:
function saveToDrive_(urls) {
  const options = { muteHttpExceptions: true };
  urls.forEach((url, i) => {
    const response = UrlFetchApp.fetch(url, options);
    const blob = response.getBlob();
    const file = g.outputFolder.createFile(blob);
    const fileName = `${g.imageName} ${++i}.png`;
    file.setName(fileName);
    console.log(`Successfully saved ${fileName}`);
  });
}
Above, we iterate over the list of URLs we received from OpenAI and fetch each resource. We store it in a file inside our output folder. We name the file and log the operation.
Edit image
Ok, at this point we have all of our utility code in place. It's time to write the code to execute everything. Starting with image edits:
function editImage() {
  init_();
  const image = DriveApp.getFileById('id_of_your_image_file');
  const mask = DriveApp.getFileById('id_of_your_mask_file');
  g.imageName = 'your_desired_file_name';
  g.payload.prompt = 'your_desired_prompt';
  g.payload.image = image.getBlob();
  g.payload.mask = mask.getBlob();
  const jsn = callOpenAI_('edits');
  if (jsn.error) {
    console.log(`Oops, OpenAI API Error: ${jsn.error.message}`);
    return;
  }
  saveToDrive_(jsn.urls);
}
in editImage, we initialize the script. We then get our base and mask images using their IDs. You can get the id of the image by right-clicking on it, select "Get link", then "Copy link". Paste the link inside the quotation marks. Delete "https://drive.google.com/file/d/" and "/view?usp=share_link", so that you are left with only a sequence of characters with no forward slashes. That's the ID of the image.
Enter your desired name for the image and the service prompt. Mine were both: 'A man wearing a dress shirt'.
The function then augments the payload in our global object with the image, and the mask. It passes the 'edits' to callOpenAI_, which returns an array of links. The function then sends the urls to saveToDrive_.
If you run editImgage, you should see the images stored in your output folder.
Image variations
the function to create whole new variations to the image is simpler, since it doesn't require a mask:
function createImageVariation() {
  init_();
  const image = DriveApp.getFileById('id_of_your_image_file');
  g.imageName = `${image.getName().slice(0, -4)} variation`;
  g.payload.image = image.getBlob();
  const jsn = callOpenAI_('variations');
  if (jsn.error) {
    console.log(`Oops, OpenAI API Error: ${jsn.error.message}`);
    return;
  }
  saveToDrive_(jsn.urls);
}
Again, we initialize the script and then get the name of the existing file, adding the word 'variation' to it. We then execute a call to the 'variations' endpoint courtesy of callOpenAI_ and fetch the files. The function should store the variations in your output folder.
That's all there is to it. You now know how to create brand new images, edit existing images, and generate variations programmatically using Dall-E. I hope you enjoy this service as much as I do.
Happy Dall-E-ing!